Nand2Tetris
Building a computer starting with Nand gate
The Nand2Tetris course is designed by Prof. Noam Nisan and Prof. Shimon Schocken. You can check out the TED Talk / YouTube by Prof. Shimon Schocken for the motivation behind designing this course.
Development of the simulated hardware
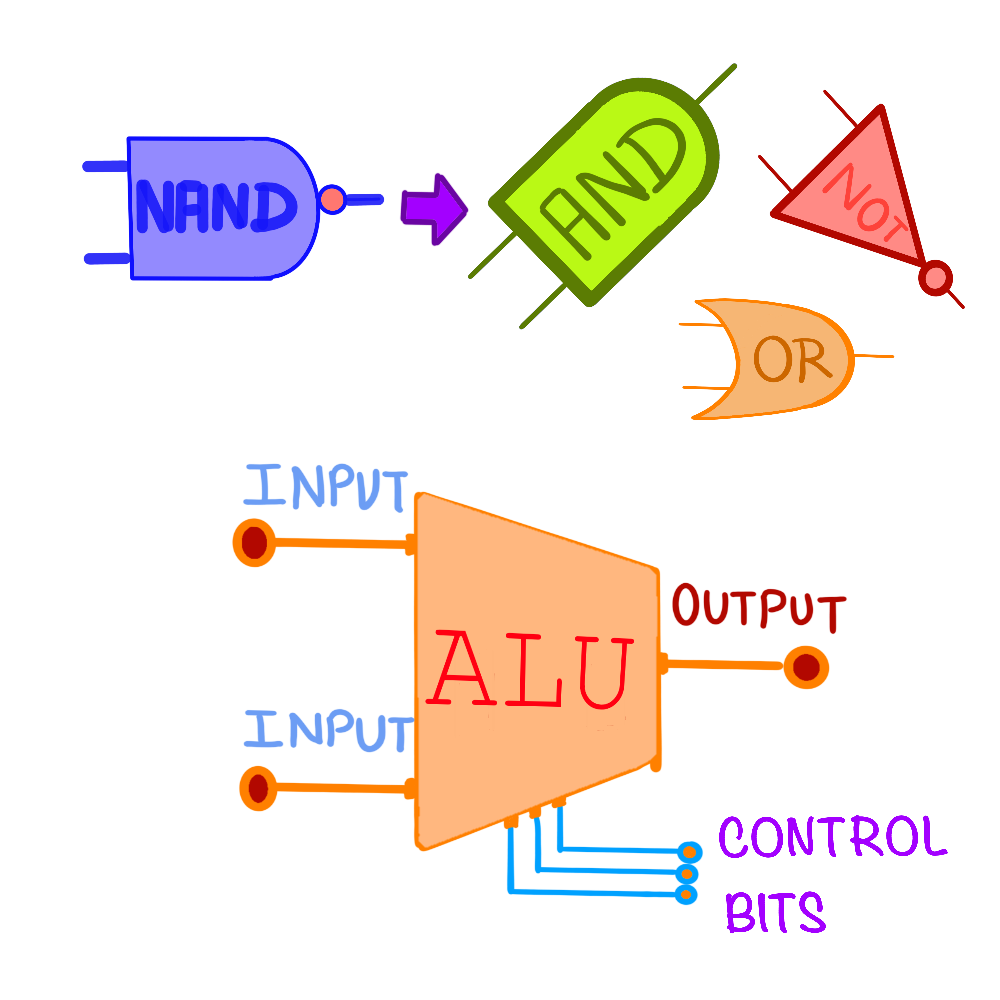
The course begins by assuming the NAND gate is given and proceeds to construct digital circuits using it. We develop the ALU and combine it with memory and registers using buses to build simulated hardware.


Once we integrate the components built using NAND gates with the memory units built using flip-flops, we have a functioning CPU. We can now run assembly language programs on our computer. We also write an assembler that compiles the assembly language code into machine-level language.
Making a software layer
Writing assembly language code is cumbersome. We need a way to write code which are easy to manage. Here, we develop a language called Jack, an object-oriented language. The task of compiling this high-level language is divided into two parts to simplify the compiler design. First, we compile the program written in the Jack language to an intermediate language that can run on a stack machine. The code in intermediate language is further compiled to assembly language with another compiler.
    flowchart LR
        A@{ shape: docs, label: "program1.jack"}
        B@{ shape: docs, label: "program1.vm"}
        C@{ shape: docs, label: "program1.asm"}
        AB@{ shape: das, label: "Jack\ncompiler" }
        BC@{ shape: das, label: "VM\ncompiler" }
        CCPU@{ shape: das, label: "Assembler" }
        cpu(CPU)
        A-->AB
        AB-->B
        B-->BC
        BC-->C
        C-->CCPU
        CCPU-->cpu
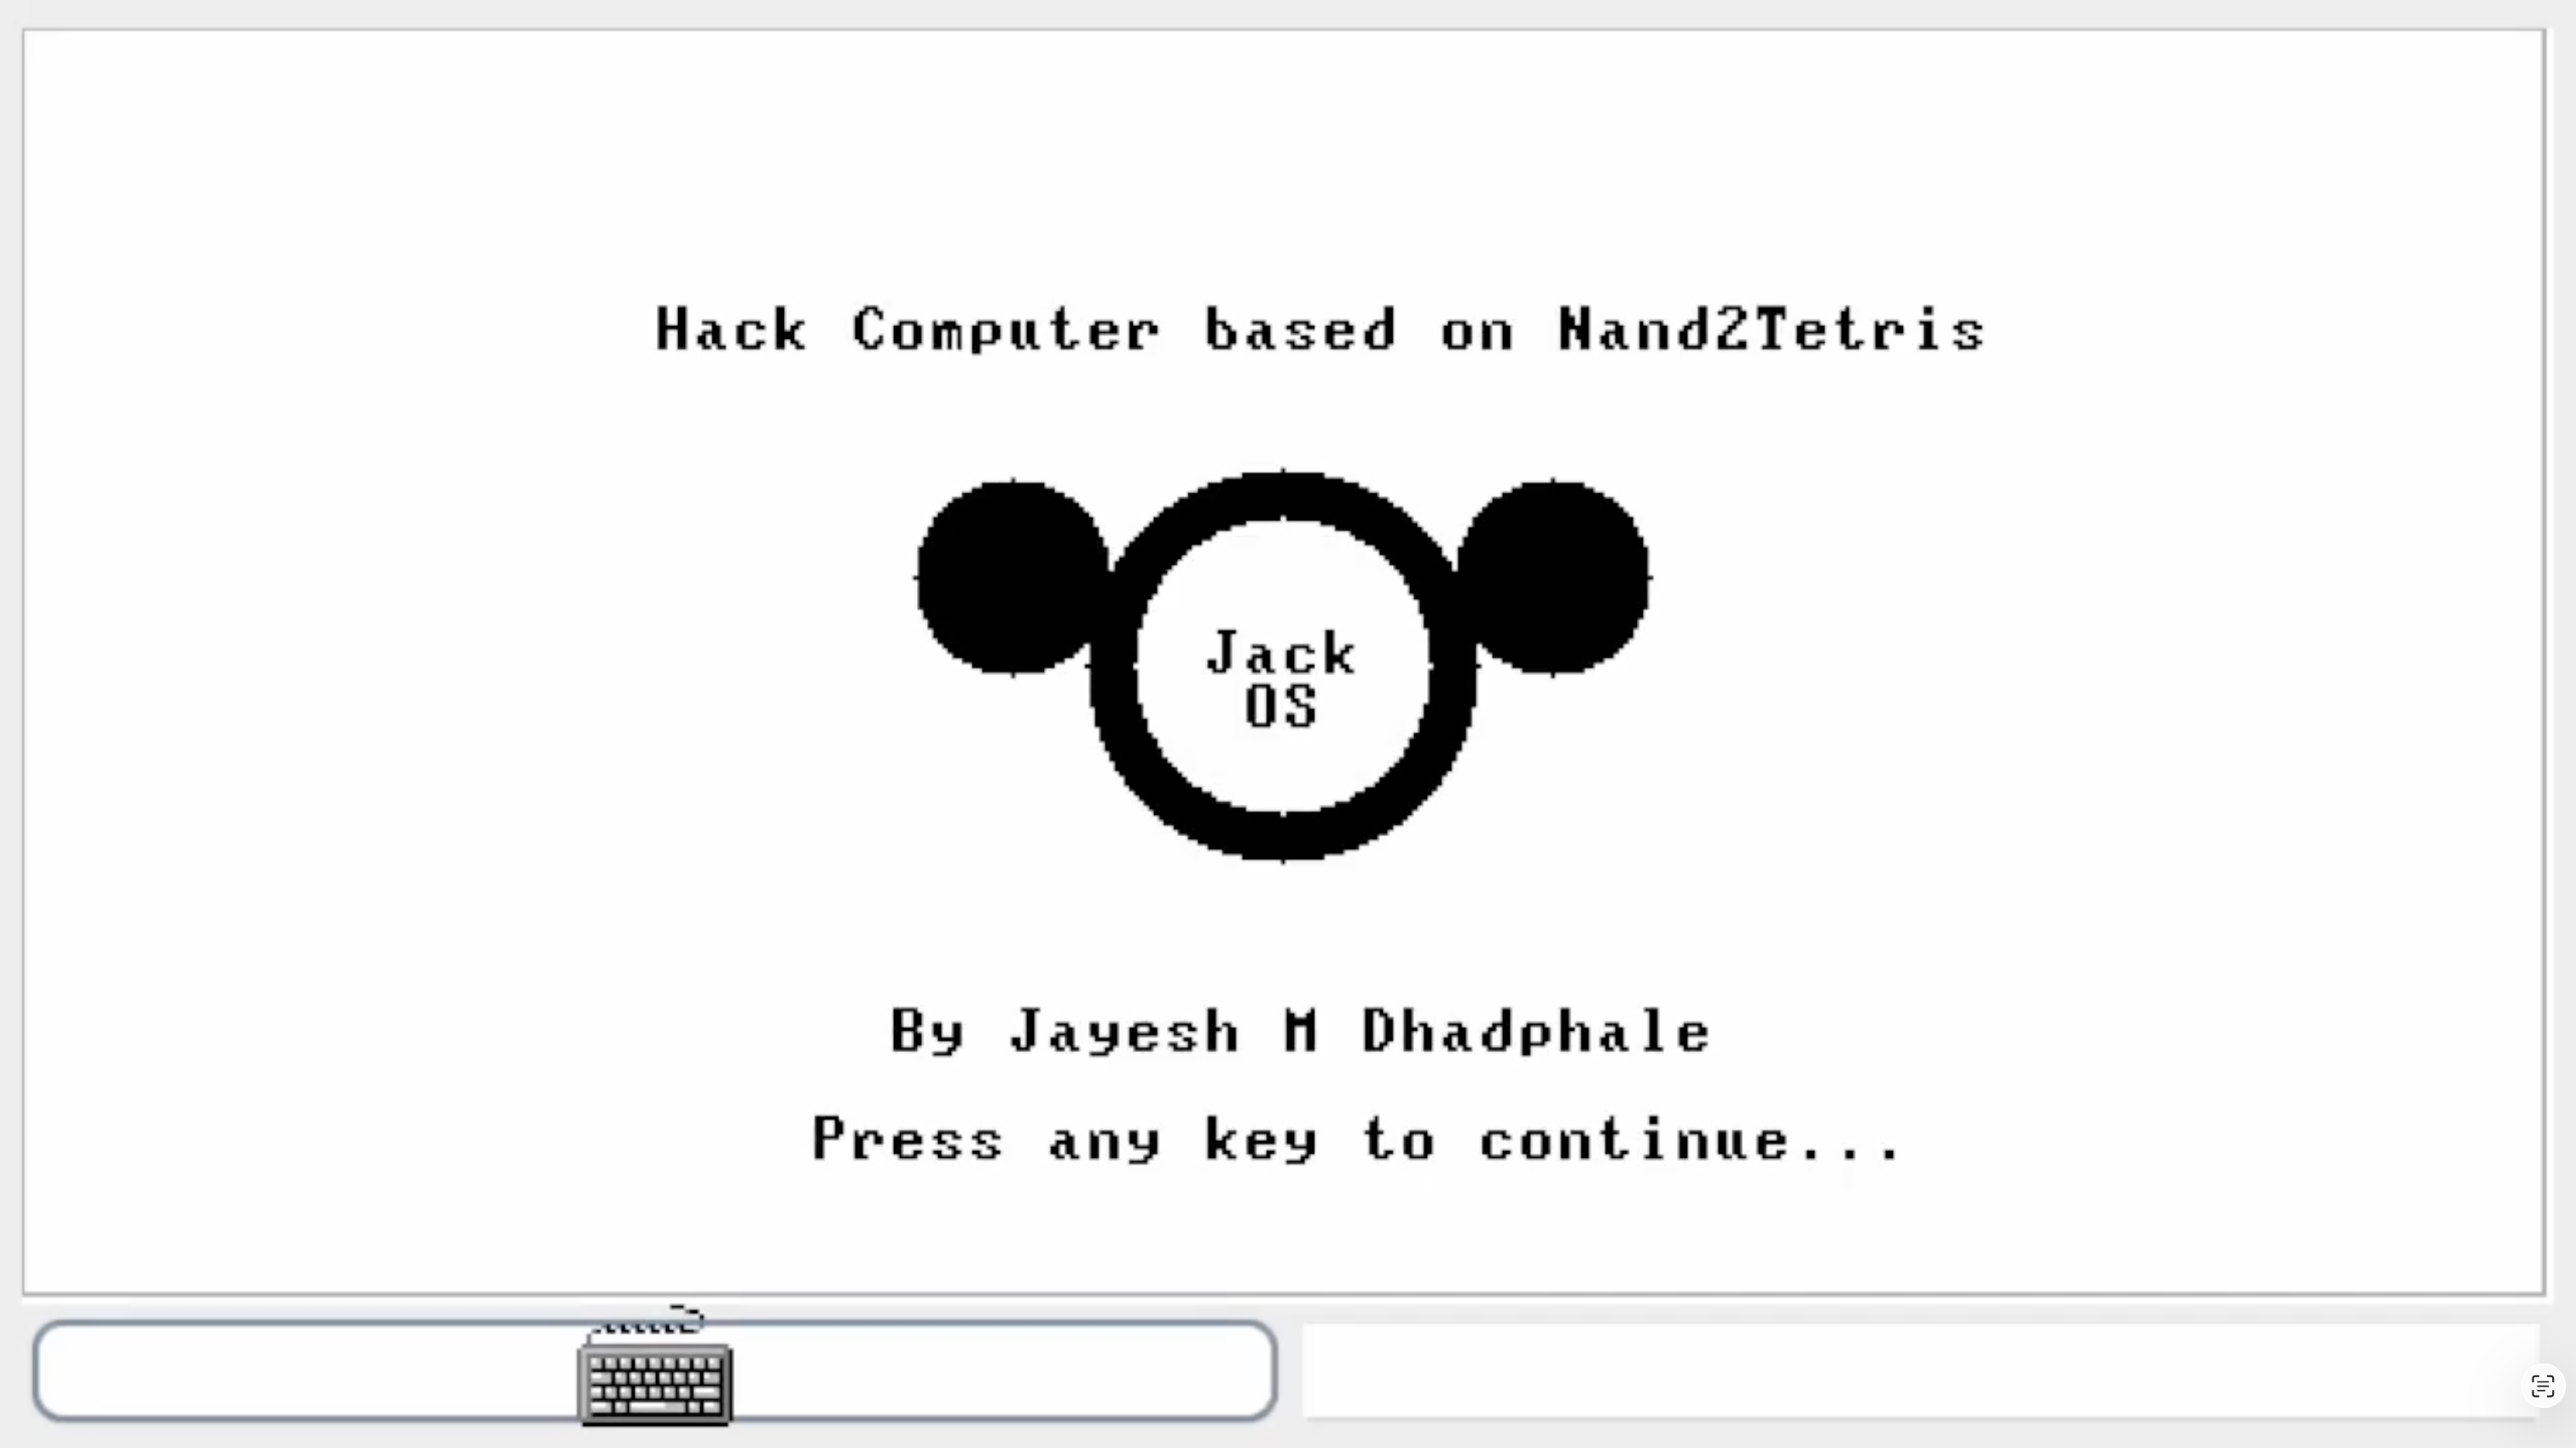
You can find the complete implementation at GitHub: JayeshMD/Nand2Tetris. When the computer starts, the number of variables gets initialized. The following image shows the output on the display once the computer starts.

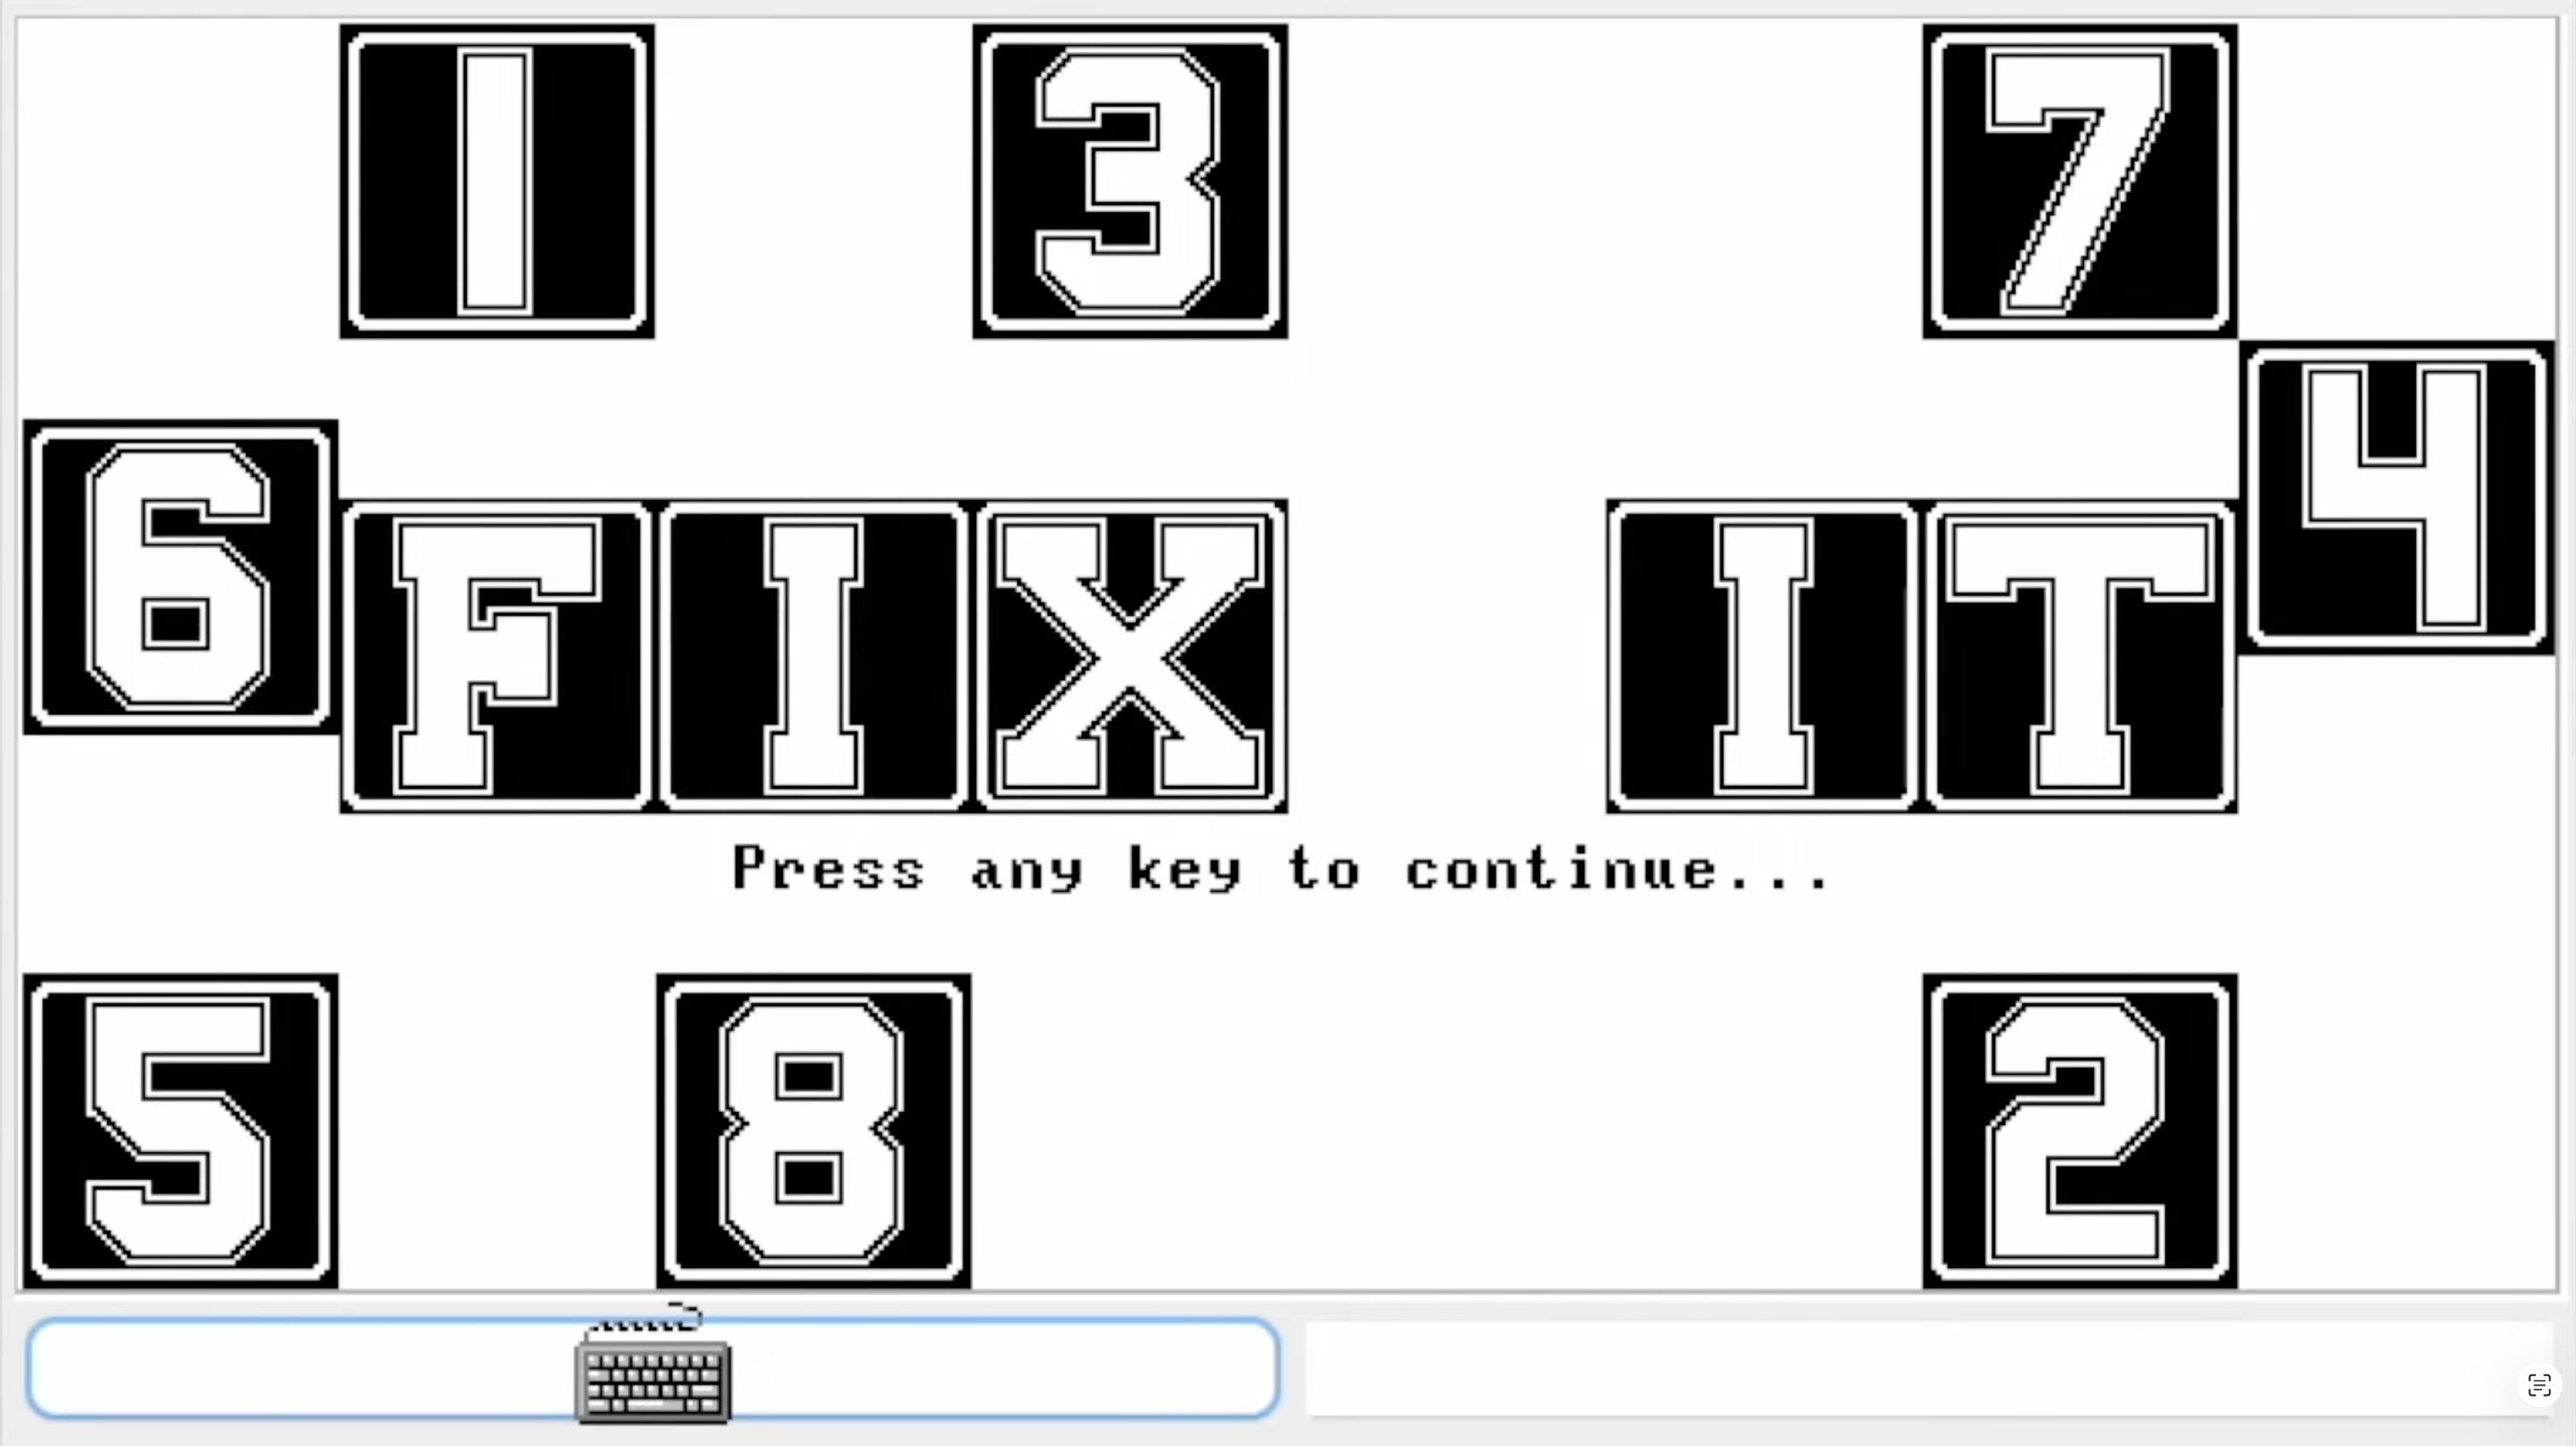
I also implemented the game Fix It game on this computer.

Until now, we have used the hardware simulator and virtual machine emulator to run JACK OS and games. I also worked on implementing the hardware on an FPGA (Field-Programmable Gate Array).
Implementing CPU architecture on FPGA
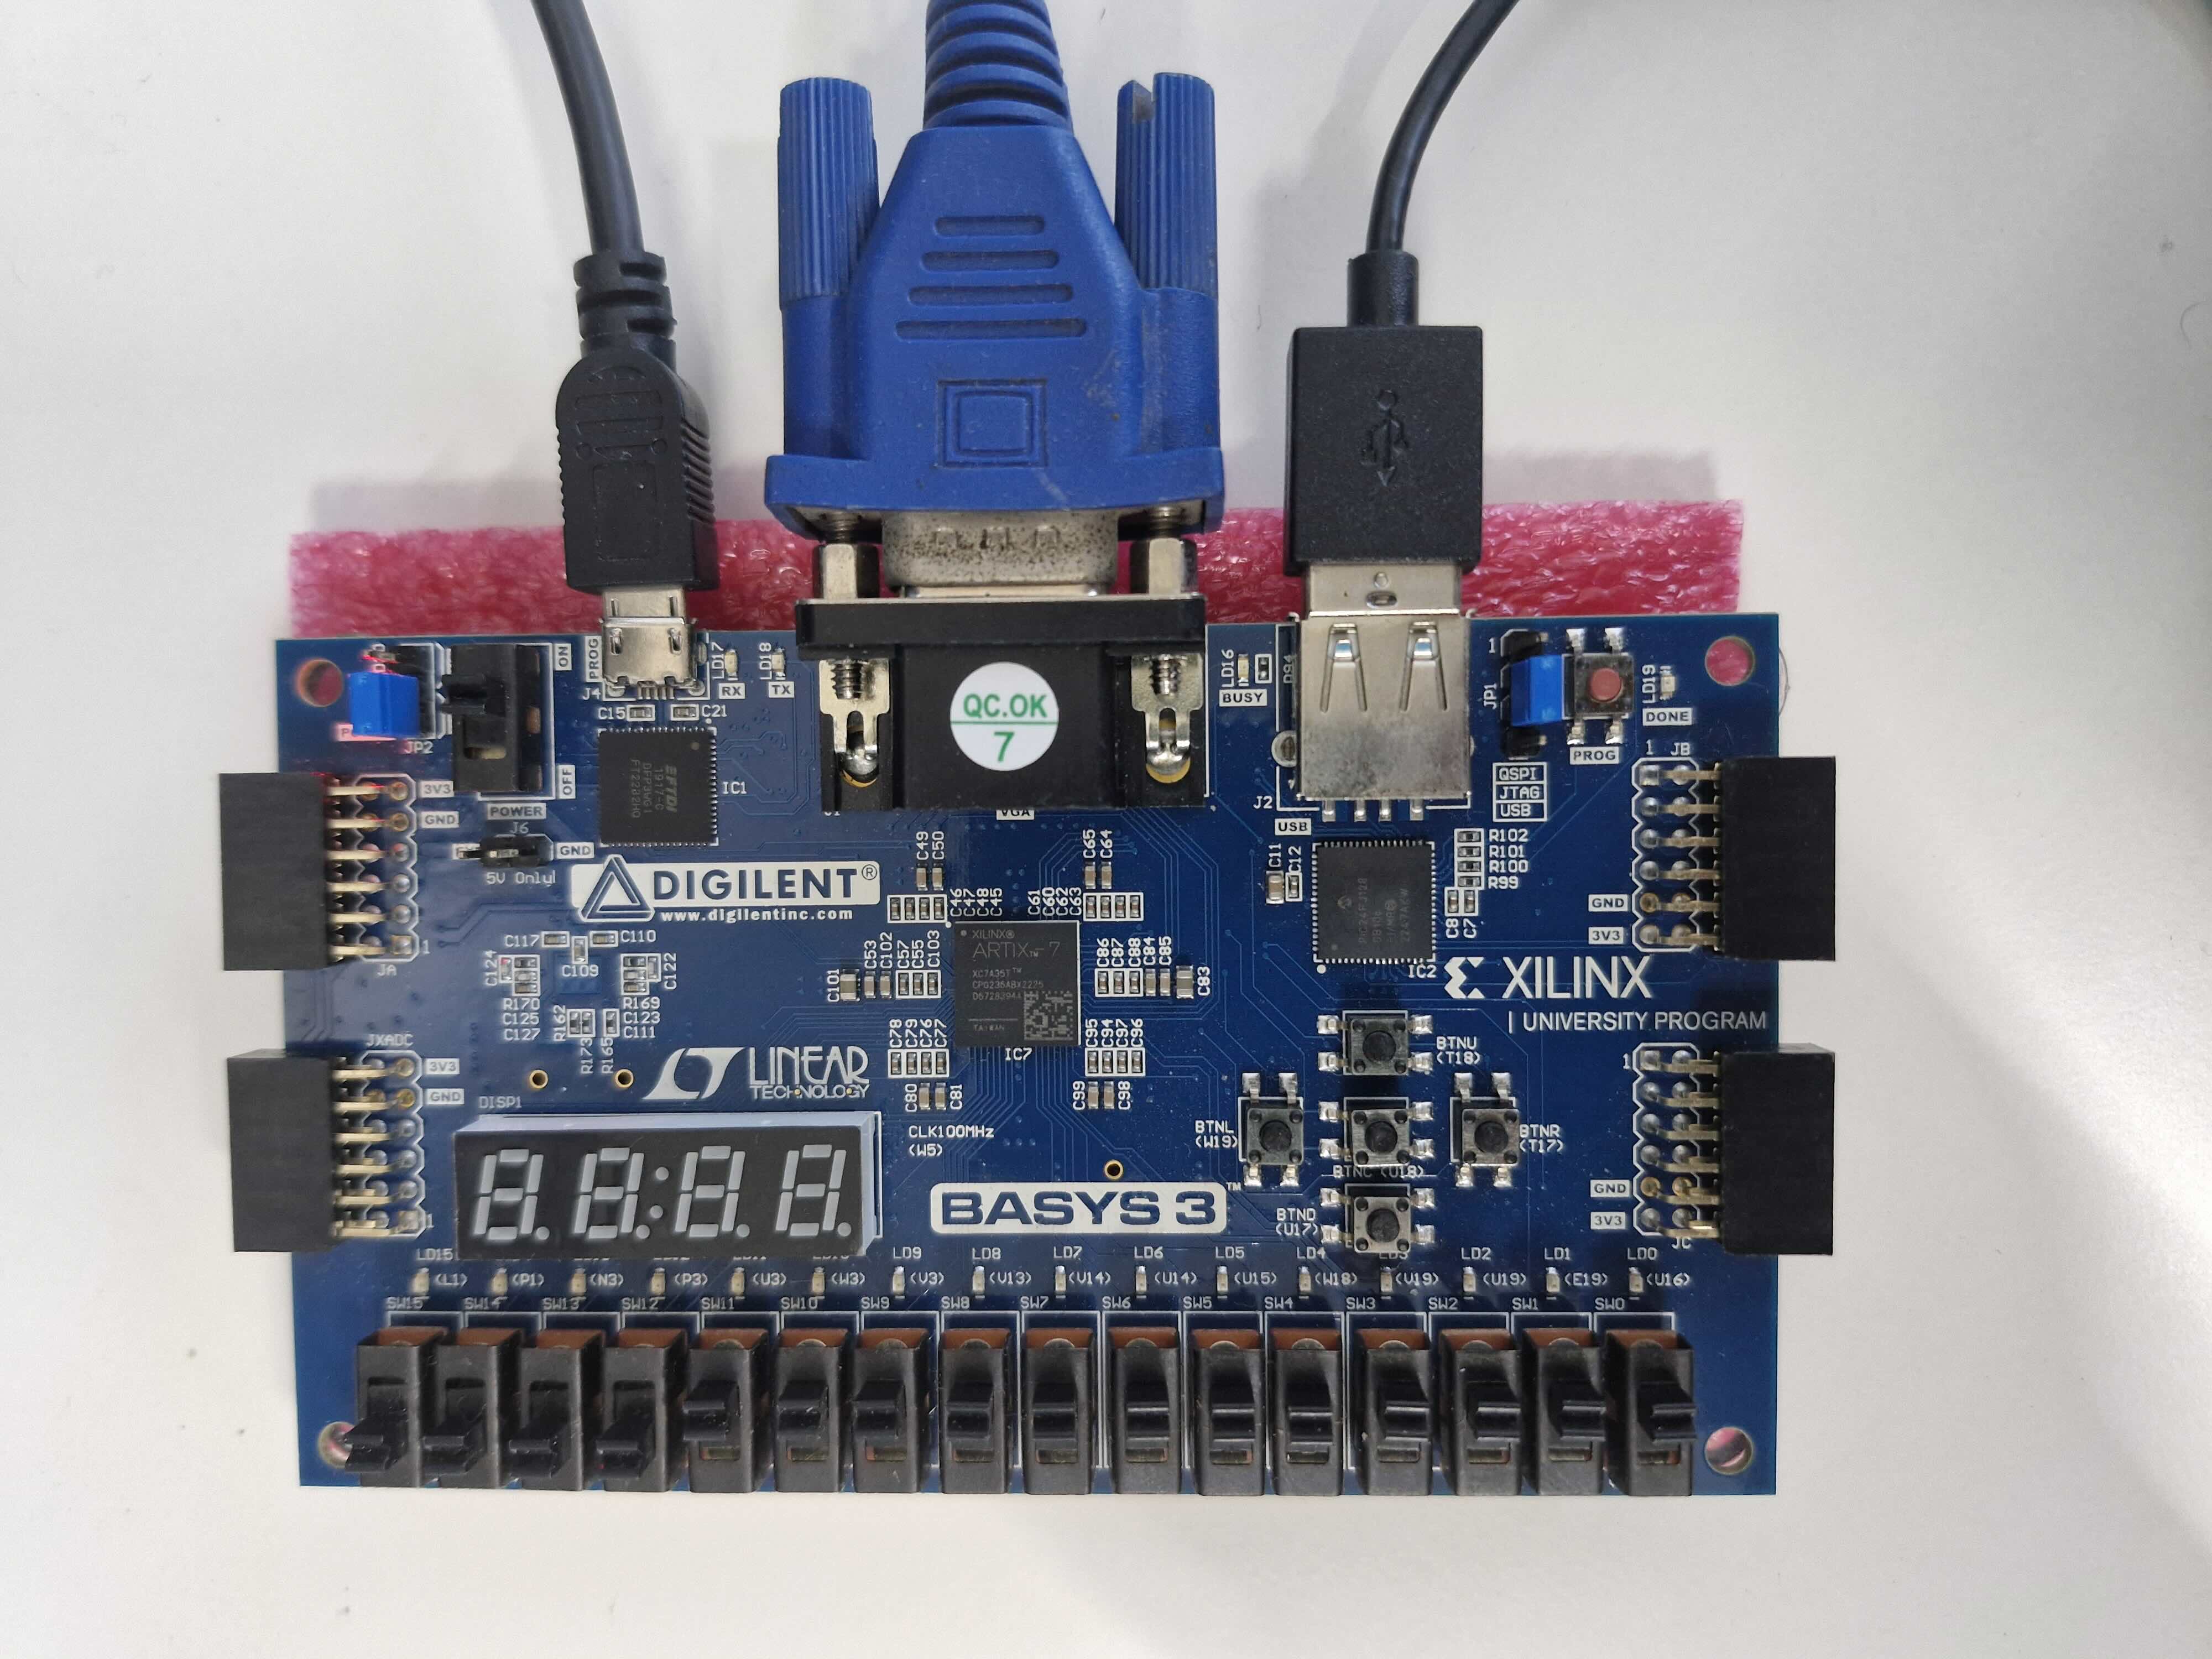
I used the Basys 3 development board by Xilinx. The board has an Artix 7 FPGA. The board features a USB port and a VGA port for connecting a keyboard and a monitor. Although we can establish these connections, we need to implement the CPU along with a driver for communication with the keyboard and display.

The major challenge was to develop a driver to map memory to display using the VGA protocol and another driver to access keyboard input. This mapping was not a significant concern in the Nand2Tetris course, as the simulator readily provides the mapping of the display and keyboard to memory. To achieve this need, I implemented a raster scan display at 60 Hz on hardware using the Verilog language.

If you find this interesting, you can check out the Nand2Tetris course. If you get stuck somewhere in the course, you can check out my repository Nand2Tetris. If you want to get an idea of FPGA-based implementation, you can visit Nand2Tetris-FPGA.